Using Element Catalogs
Voog database is a developer-oriented tool for creating and managing collections of similar objects, called elements. Each element has a number on user defined properties with pre-configured datatypes. Elements are added to site structure by element listing pages that use the Elements type layout. Each Elements layout has another layout (Element type) bound, for displaying a database entry (or creating a new one).- Create new layout in Code Editor using Elements as layout type.
- Add code for displaying elements list and button for adding a new entry to this layout. For example something like this:
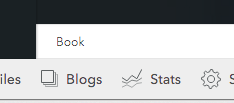
You should also choose here a name for element_type (Elements available data fields definition), though we will create that definition itself later. In the example we chose it to be "Book".<!DOCTYPE html> <html> <head></head> <body> {% for book in elements %} <a href="{{ book.url }}">{{ book.title }}</a> <br> {% endfor %} {% addbutton element_type="Book" %} </body> </html> - Now add a new layout in Code editor using Element layout type. When creating the layout choose the previously created Elements layout ("My Books") as its parent layout. The layout will be displayed when site user clicks on element link <a href="{{ book.url }})"></a> or on the addbutton that is displayed only in editmode.
- To this layout add code for displaying element fields. Note that we are using {% editable %} tag for displaying the fields as it makes them directly editable in edit mode for user. Lets say we have only two fields "title" (required and always present on every element) and "description":
<!DOCTYPE html> <html> <head></head> <body> Title:{% editable element.title %}<br> Description: {% editable element.description %} </body> </html> - Now create a new page on website using the newly created MyBooks layout. You can do this directly from your site menus using the "+ add" button. Pick the layout "MyBooks" from dropdown list:The created page should be empty with an "+ add" button for adding elements to the list later.
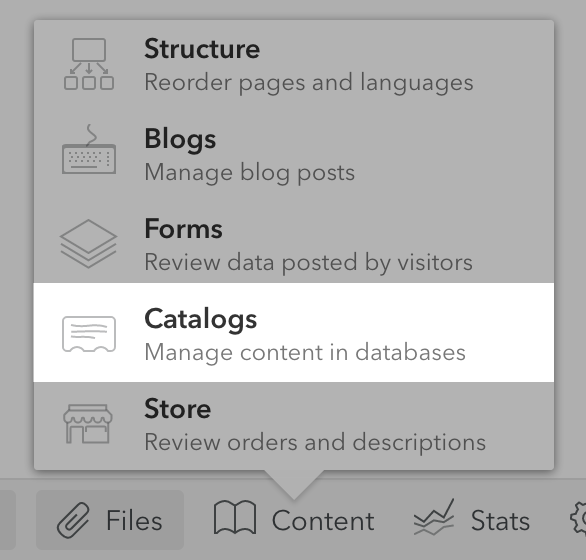
- Now we will create the still missing data description model that we named "Book". Navigate to database management view (Settings > Catalogs from bottom menu):
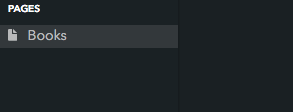
- In Catalog tools pick the page you created from left menu by clicking on it (white models bottom bar will appear):
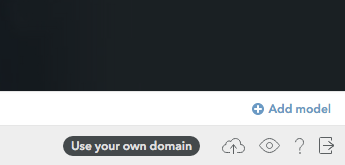
- Choose "Add model" from bottom bar at right corner:
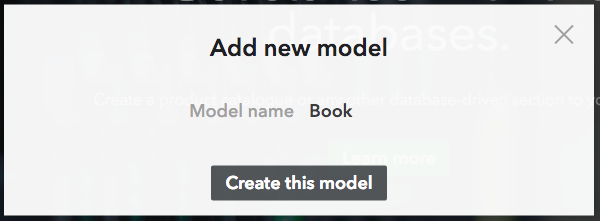
- Add the name we picked earlier "Book" for the element data description model:
- From the bottom bar click on the created models name:
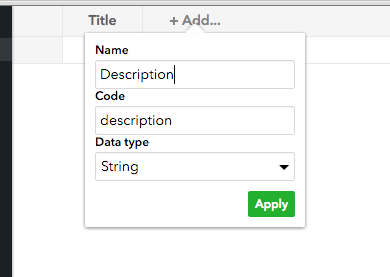
- You can see the empty elements data table with the field names at header. Every element has a title so the title column is already present. In our template we had another field "description" that we should add by clicking the "+ Add" on table column head. To add the filed "description" fill in the fields (code is the field name used in templates and should be alpha-numerical only).
The available data types for a field are: - String - plain text, in edit view, text field will be displayed
- Text - rich text, editable with rich text area in edit view
- Number - can nontain only numbers, has text field for editor
- Boolean - in edit view, checkbox will be displayed
- Image - area to drop image here is being displayed in edit mode
- Select - displays list of options to select as value
- Date - date input will be displayed for editing
- Now the Books database is set up and user can start adding entries on site from Books page we created in 5.


Title field type is String and can not be changed.