You can create various different galleries on your website. The Voog gallery tool offers you the following options:
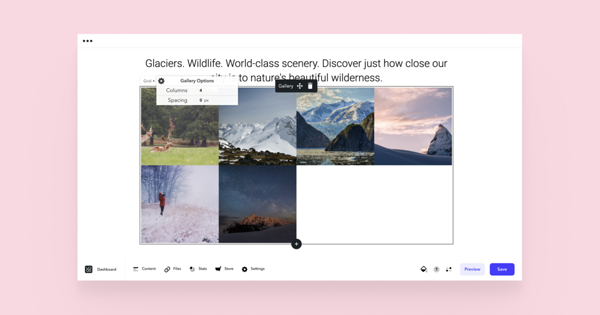
Grid
The good old basic grid of squares lined up next to each other. In the gallery options, you're able to set a suitable column count which will then automatically fit the grid to the width of your page.
Add spacing in between the squares as you see fit.
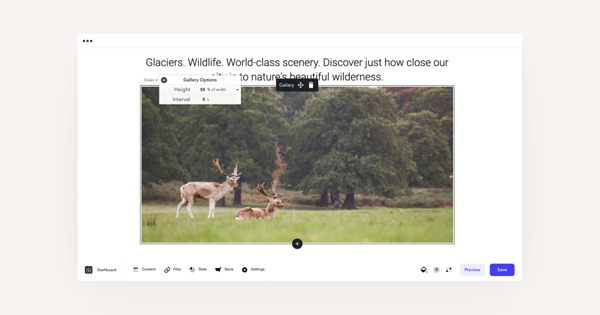
Slider
Display your images in a simple image carousel. Adjust the height and the sliding interval time period inside the gallery options. Add 0 if you don't want the slider to slide automatically.
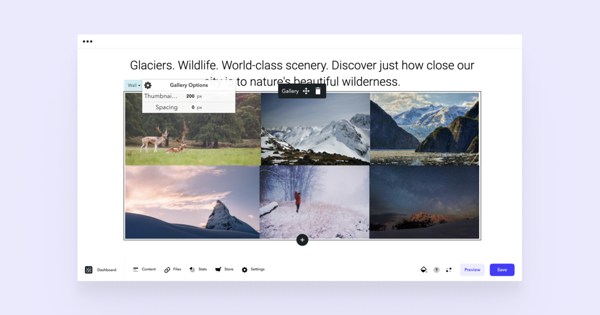
Wall
Display a lot of images over your page in style. You can set a preferred thumbnail size which will adjust the number of images displayed in one line. Set spacing to the images how you see fit.
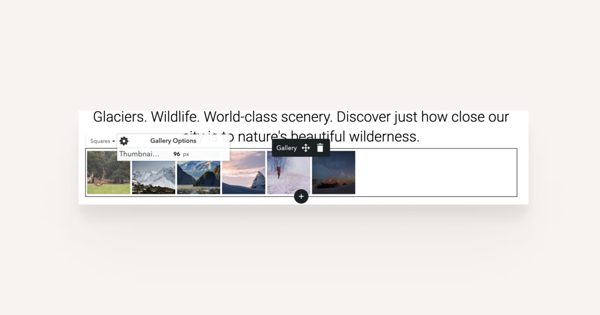
Squares
It's an ideal solution for a larger gallery. For example, if you'd like to create a gallery with a lot of images but don't want your visitors to spend too much time scrolling through them, that's the way to go.
Viewing images in full screen
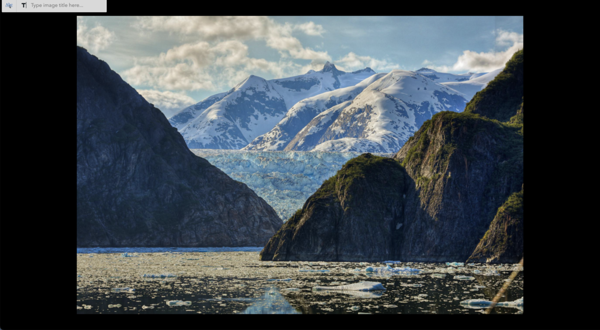
Click on the image inside your gallery and it will pop up in the full-screen view.
On the upper side of the page, you'll find the title area. The title will be displayed under the image for the visitors. Also, you can see the image in its original size when clicked on the zooming icon and proceed to the full-screen mode without any browser elements.
Switch in between the images by clicking on the arrow icons on the sides of the image or simply by clicking on the arrow icons on your keyboard.
How do I add a gallery to my page?
Click on the plus sign wherever you wish to place the gallery and select the 'Gallery' content area.
How do I add pictures to my gallery?
Open up the Files menu and click on the Upload button, find the images from your computer and confirm them for uploading. Once you have them uploaded, simply click on an image and drag it onto the gallery area you've previously added. Feel free to drag as many images as you need to the gallery — there is no limit.
How do I change the order of the images in my gallery?
Changing the order of the images in your gallery is fairly simple — just click on the particular image you need to reorder and drag it either left or right.
If you have a slider on your page, first scroll to the image you need to reorder and then as explained before, just click on it and drag it where necessary.
How do I remove pictures from my gallery?
Click on the image that you need to remove and drag it down into the recycle bin icon that appears on the lower right side of your page.
NB! Removing images from the galleries won't remove them from the Files menu. If you intend to completely remove an image, open the Files menu, find the image and click on the small recycle bin icon on it.
