Creating a table
To build a table, we suggest you first create a new Text content area. You may also add it to an already existing text, but with a new dedicated area, it's easier to later move it if necessary.
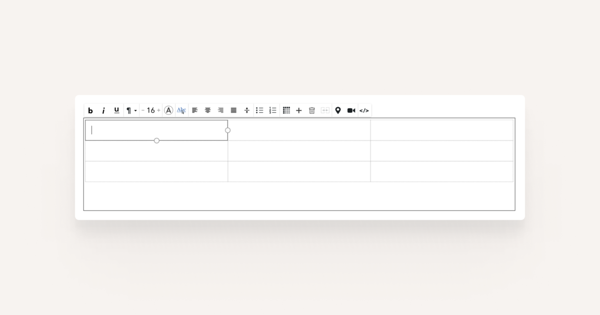
Then, click on the table tool on the text toolbar and select the desired layout for your table. Once selected, a grey outline of the table will appear in your content area.
Changing the size of the table
To change the width and height of your table, simply click on one of the cells in your table and you should see two dots appearing on the sides of it - one on the right side to configure width and one on the bottom to configure height.
Editing the table
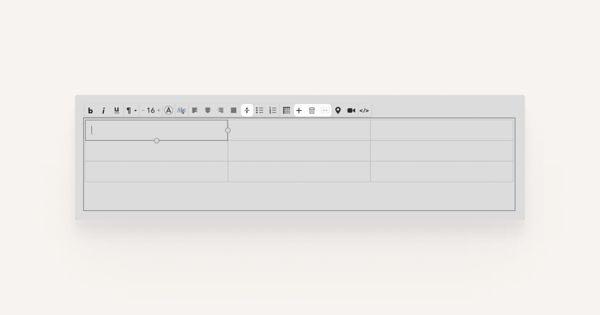
As you've created a new table, you might have noticed that new icons appeared on your toolbar.
Placing content
You can set your content to appear at the top, in the middle or at the bottom of the table cell with the cell tool.
Adding new rows or columns
To add new rows or columns to your table, click on the + icon on the toolbar and you'll be presented with the following options - above, below, before and after. As you hover over each of these options with your cursor, a green line will indicate on your table where the new cells would be added.
Deleting rows or columns
In case you're looking to delete any cells, simply click on the cell that you'd like to remove and select the trash bin icon from the toolbar. A drop-down menu will ask you to choose either Row or Column and the red colour will also indicate to you which of the table cells would be deleted.
Merging cells
To connect two separate table cells into one area, simply select the two cells that you'd like to connect and click the cell tool on the toolbar.


