Setting up BookLux
To begin, go to the BookLux website and click on the Try Free button.This leads you to create an account and choose a category for your booking calendar – in the example below, we’ve chosen a sports club. At BookLux you can easily create a service calendar, assign a room and a location to each service and create several other options. This way, a customer can book a service at any time and location they prefer.
At the left of your admin view, you can see several settings. For example, Calendar shows bookings made by customers. By clicking on a booking, you can see further details of the booking and the customer and you have the option to confirm it.
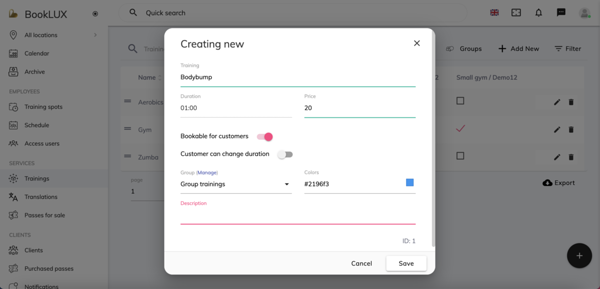
Training spots and Schedule let you add rooms (for example, training rooms if you run a gym) and set a different schedule for each room, respectively. When you go to Services, you can add and manage your services, assign each one a price and duration and select a room or rooms for the service.
Adding the booking widget to your Voog website
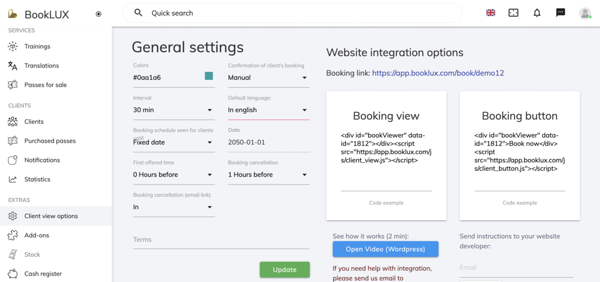
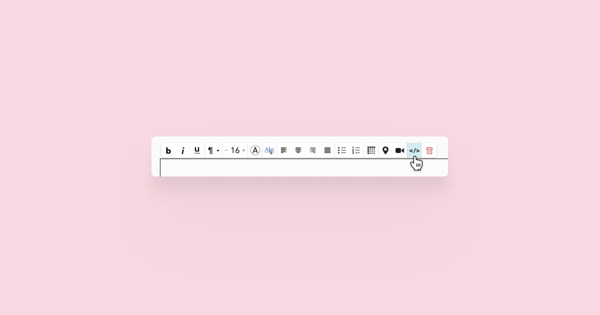
To add the form to your website, open Client view options from the menu bar. You can embed the booking form in two ways – either as a form displayed right on the page or as a button that opens the form as a popup. To place the form right on the page, copy the code from the Booking view box. To create a button, copy the code from Booking button.Either way, you can paste the code to an Embed or Text content area, using the HTML button </> in the latter case.


