What is it and how does it work?
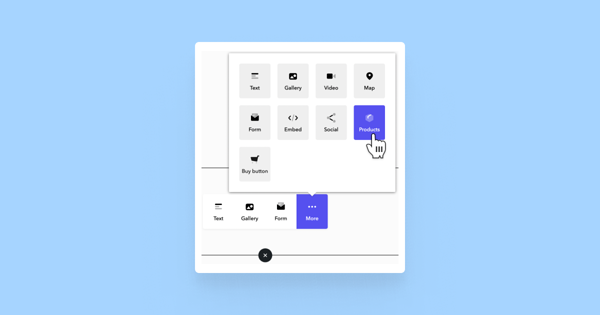
To display your products in your online store, add the Products content area to your page, which can be found in the content areas selection.
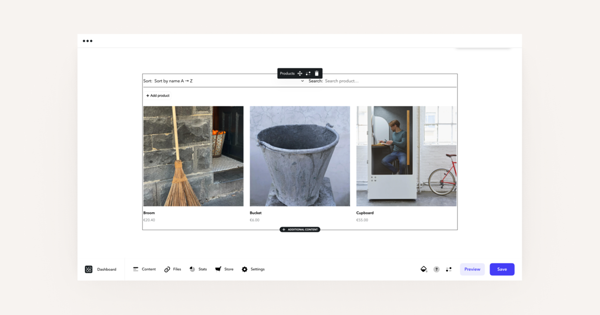
The content area displays all active products in your store.
Clicking on a product opens its dedicated product page, complete with product image, description, and purchase button.
Adding Products
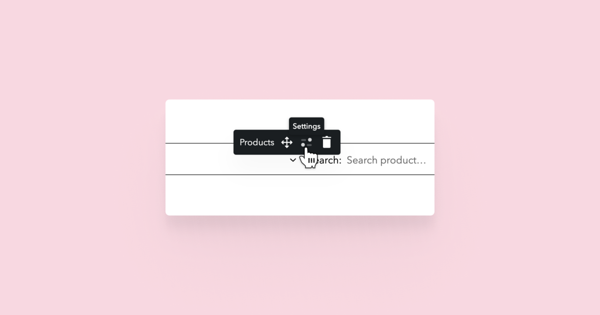
First, add products and assign categories to them. Then, you can add the Products content area to the appropriate page—whether it's your main e-commerce page or a specific product category page. By default, it will display all products. To display only certain product categories, open the content area settings.
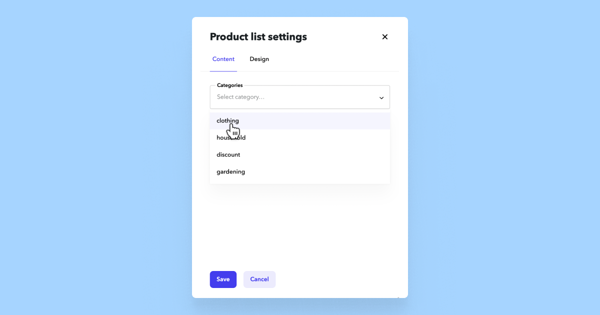
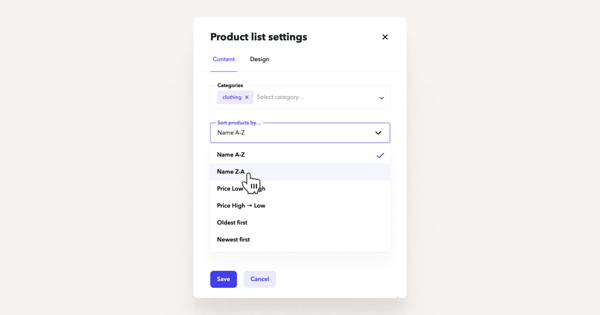
In the settings window that opens, choose one or more categories from the Categories menu.
Creating a Structure
If you have a simple store with all products displayed on a single page, you can easily add the Products content area to that page and start selling. However, if you have more than one product category, you can display separate product lists for each category. You can choose whether to create individual pages for each category or display all categories on a single page. Here are some sample solutions.
Customise the Appearance of the Product List
In the product list settings, you can adjust the appearance of the content area and the layout of the products.
On the Content tab, you can apply a category filter and set the order of the products.
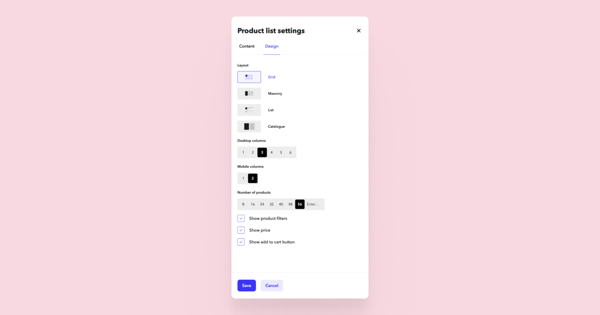
From the Design tab, you'll find tools to modify the appearance of the product list.
Layout determines the arrangement of products:
- Grid - products are arranged in a regular grid with columns and rows;
- Masonry - products are in columns, and the product images retain their original dimensions, resulting in different heights;
- List - products are stacked, with descriptions next to the product images;
- Catalogue - products are placed side by side, and the list is horizontally scrollable.
Columns determine the number of columns for products in the grid. Additionally, you can set a separate number of columns for mobile. The column selection is only displayed when the layout is set to grid or mosaic.
Item width and height appear in the selection when the layout is set to panel.
Number of products determines the maximum number of products displayed in the content area.
You can also choose whether to display prices and add-to-cart buttons in the product list.
Translate Products and Modify Product Descriptions
If your site has multiple languages, you can easily translate all your products and their descriptions into each language. One way to do this is through product settings, where you can translate product names, descriptions, categories, and variations. More details can be found in this guide.
To make products visible in other languages, you'll need to translate all the pages in your online store's structure, along with their Products content areas. You can either copy them directly from one language to another or manually add them if the store's structure should be different in the new language. In the latter case, don't forget to add the Products content areas.
You can also translate products and descriptions directly on the page by opening a product from the Products content area.
