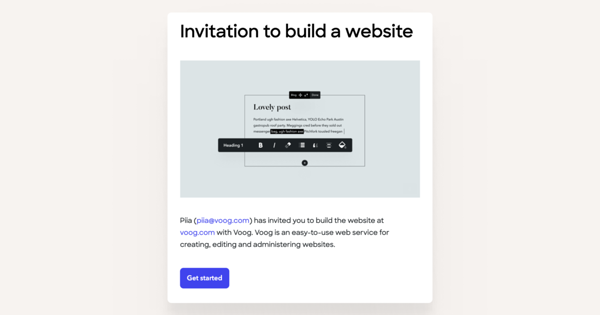
Adding editors or even new owners to your site is easy — the invitations can be sent right from your site interface. Our system will e-mail a personal invitation which can be only accepted via the link inside the invitation.
Inviting a new user to your website
To send out the invites, open the Settings > Users menu where you can see all the people listed that are already managing the site.
Inviting a new user to your website just click Invite new person button and you'll be able to add all the necessary e-mails to the invitation list.
Once the invitations have been successfully sent, you'll see a confirmation on the screen.
Accepting the invitation
Your friend will receive a similar invite as shown above.
New Voog users will be directed to a login screen and asked to come up with a new password and enter it but existing Voog users need to insert their previously chosen password.
The difference between user roles - admin and editor
- Owner is able to manage the site globally — there are no limits for them.
- Editors can manage content, but access to some settings is limited (e.g. domain settings, site subscription and billing information).
Changing user roles
You can see all users and their roles by clicking Settings > Users.
Every new user added to your site will be in the editor role by default.
- Change an editor user to an owner — the owner role can only be assigned to a user who is also an owner. If you want to give an editor owner rights, click the three-dot icon at the end of their name row. From the drop-down menu that opens select Make owner.
- Reduce owner to editor — if you want to reduce a user who is an owner of the site to an editor, click the three-dot icon at the end of their name row. From the drop-down menu that opens select Make editor.
Deleting users from your site
To delete a user, go to Settings > Users view. Find the user and click the three-dot icon at the end of their row. From the drop-down menu that opens, select Delete user.
Note that if you are the only user with the owner role on the site, you should assign the owner role to at least one other user on the site before you leave the site.
Therefore to remove yourself from the site, go to the My Profile view via the Settings > Users menu and click the Remove account button.


