- Through the product management view
- Through the Products content area
- Importing products.
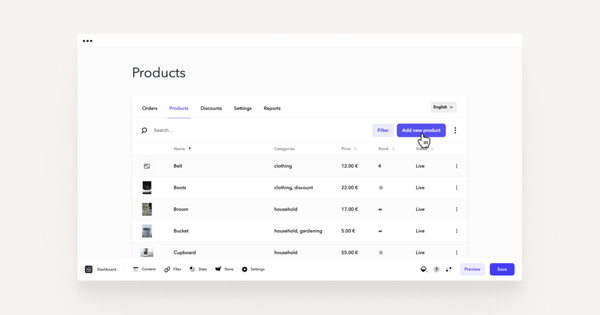
Add a product through the product management view
To get to the product management view, go to Store > Products. Here you can see all your existing products.To add a new product, click on the Add new product button and fill out the following fields:
- Name – product name displayed in store.
- Description – product description displayed on product page.
- Categories – assign your product into one or several categories.
- Status – if you wish to hide the product, you can use the status Draft.
- URL slug – insert the name that the automatically generated product page URL uses; for example if you write “shoe”, then the product page URL is mystore.com/en/products/shoe
- Gallery – add a product image to the product. If you wish, you can add more than one product image to the product. Please note that the first image is always set as the main image of the product - it is displayed first in the product list view and the product detail view. You can change the order of the given pictures at any time. To change the order, grab the picture whose order you want to change and drag it between the pictures to the place where you want to display it. Important: you can make changes to the product image in the Edit product view. In order for the changes to the product image to take effect, it is always necessary to press the Save button in the Edit product view. You can also view the product images in a larger size by clicking on the image in the product detail view - with this click, the gallery opens in full screen.
- Price – enter the net sum, below you can see the added VAT and total price.
- Sale price - add product sale price.
- Stock – you can leave it blank this way amount is infinite.
- Dimensions - You can set the product's length, width, height, and weight; product weight is necessary for using the DPD data exchange.
Read more about adding and managing products.
Control search engine indexing of auto-generated product pages
Want to control whether search engines index your Store's automatically generated product pages?
You can easily do so in the Store > Settings > Store information view. You can turn this off or turn it on under the "Product pages visible to search engines" option.
By turning this off, you can prevent search engines from indexing your site's automatically generated product pages.
Note that if indexing is disabled for the entire site, indexing of automatically generated product pages is also disabled.
In addition, the automatically generated product pages are also hidden from search engines if the page you specified as the store location is set to be hidden from search engines.
Creating a duplicate of an existing product
Both in the product list and in the product detail view, it is possible to duplicate an existing product with all data, i.e. create a copy of it.
Creating a copy of a product in the product detail view
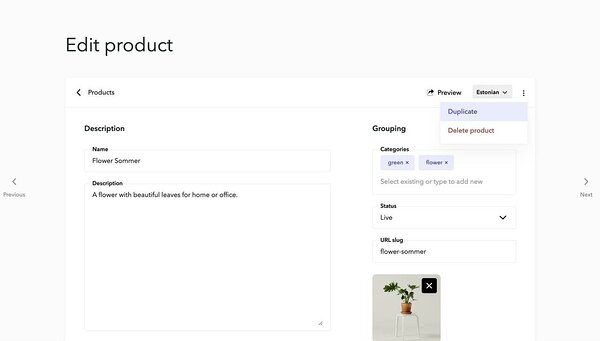
Select Store > Products from the bottom toolbar and click on the product you want to create a copy of. If you are in the product detail view, click on the three dots on the top right. In the menu that opens, select Duplicate. This action creates a copy of the product with all data including variations, prices, and SKUs.Creating a copy of a product in the product list view
Select Store > Products from the bottom toolbar and click the three dots at the end of the product row. A menu will open where you select Duplicate. During the copy, a new product is created with all data, including variations in prices, SKUs, etc.Please note that when duplicating a product, the inventory and number of reserved products are not transferred to the new product. These data must be entered manually separately.
Categories
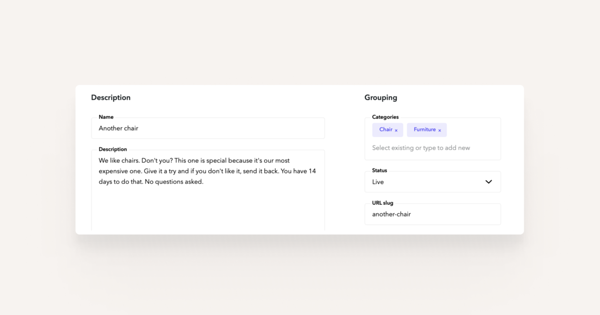
If your products are divided into more than one category, you should assign a category to each product. To do this, enter the category title, such as "Furniture", in the Category field.
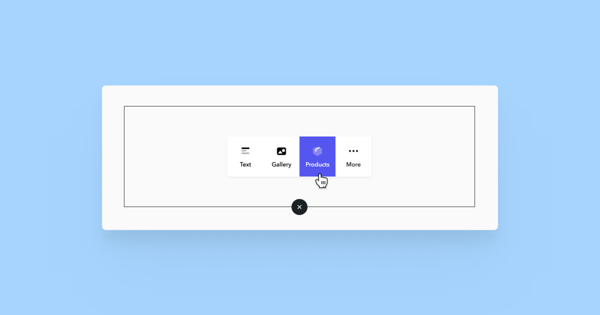
Once the products are added, you can use the Products content area to display your products, either displaying all or selecting specific categories. This guide provides a comprehensive explanation on how to add the Products content area and how to filter desired categories.


